
Getting started
The admin pages, tab by tab
Everything My T Maker adds to your WordPress admin, one page at a time.
Seven pages under one menu, no hunting.
My T Maker ▸ Dashboard
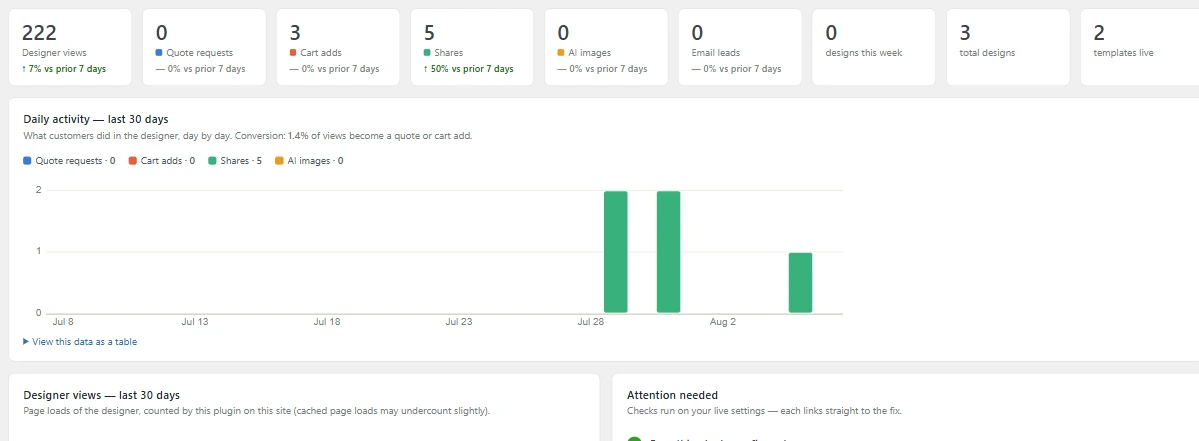
Your landing page, what’s happening in the designer at a glance.
On Pro, stats are front and center:
- Stat tiles: designer views, quote requests, cart adds, shares, AI images, leads, each with a 7-day vs prior-7-day trend arrow.
- Charts (30 days): daily actions (quotes / cart / shares / AI) and a views line. Hover for exact numbers; every chart has a “view as table” fallback.
- Top shirt colors & top garments (building over 90 days), what your customers actually pick, shown in the real shirt hues.
- Attention needed panel: config checks with a fix link on each: AI enabled without a key, a garment sold without a mapped product, blank quote email, share-cap usage, design-archive disk size. If something’s misconfigured, it’s listed here before it costs you an order.
On Starter and Advanced, the Dashboard keeps three live tiles, designs this week, total designs, templates live, plus a preview of what the Pro stats add.
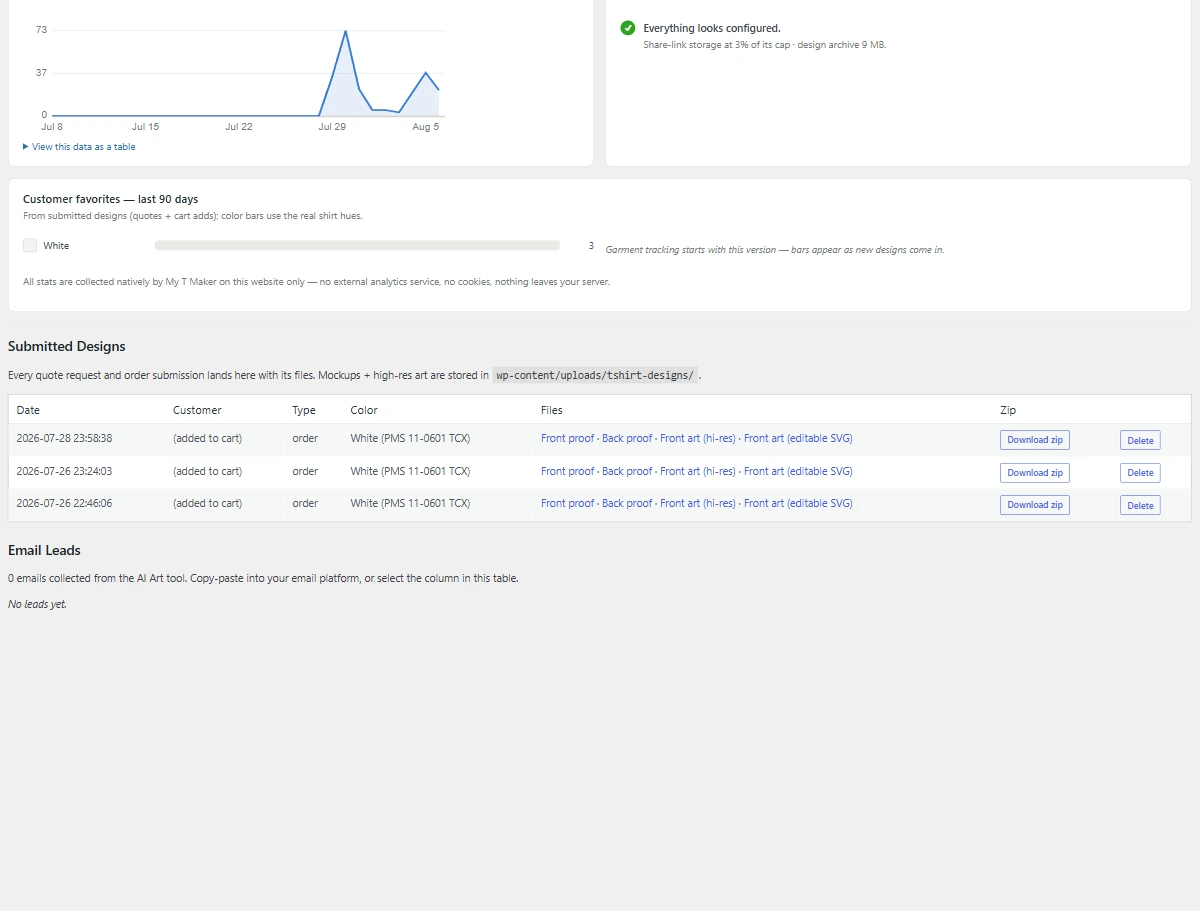
On every plan, the Dashboard also holds the Designs archive (every quote request and order submission, with its full file pack) and the Email Leads list (addresses captured by AI Art).
All of this is native WordPress data collected by the plugin on your server. No Google Analytics, no cookies, no data leaves your site.
My T Maker ▸ Garments & Colors
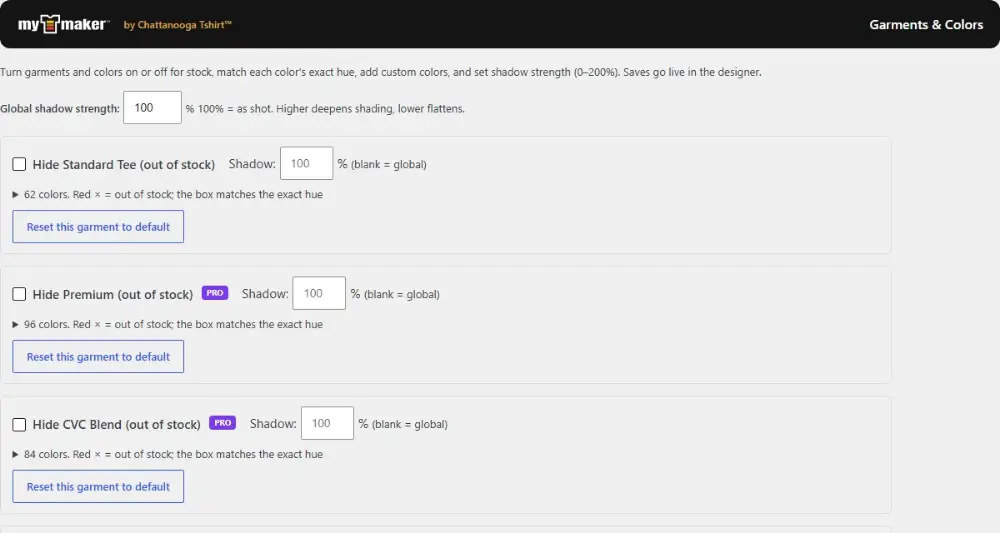
Stock control for the built-in garments (Advanced+): hide garments you can’t source, hide or add individual colors, fine-tune a color’s hex to match your actual blanks (Pro), and adjust shadow opacity per garment. Hide, don’t delete, everything is reversible.
A garment looks too dark? Every garment has its own Shadow field on this page: 0–200%, blank means “use the global shadow from Settings”. Set that one garment to 0%, save, and reload the designer:
- It looks right at 0%. The shadow layer was simply too heavy for that photo. Put a smaller number back (start around 40–60%) until it matches the blank on your shelf.
- It’s still dark at 0%. Then the darkness is baked into that garment’s own template image, not the shadow, and the fix is a wizard re-run: see adjusting a garment after it’s saved.
My T Maker ▸ Garment Wizard (Pro)
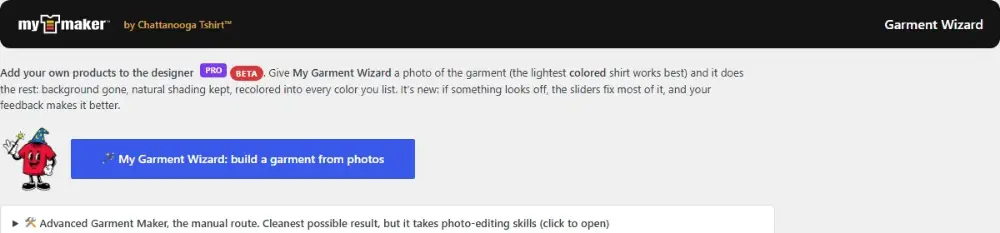
Add your own garments, photos, colors, and draggable print-safe zones. Covered in depth in the garment wizard guide.
My T Maker ▸ Art Library
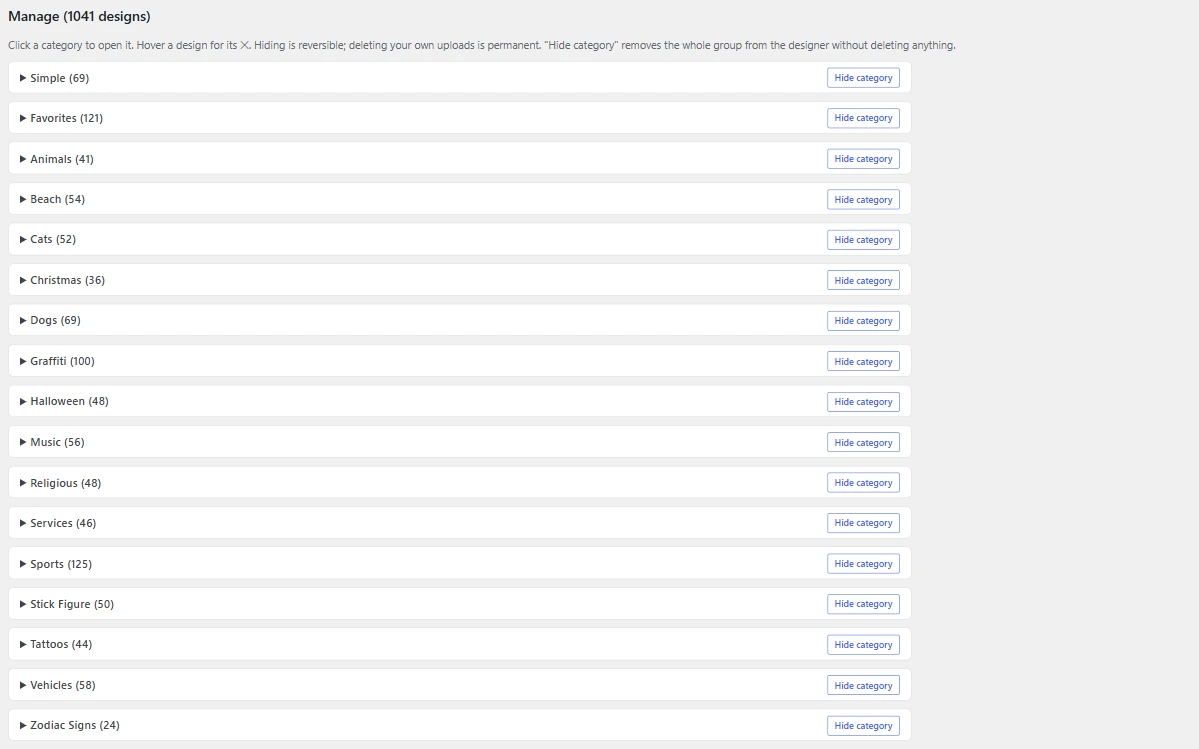
Control exactly what art your customers see:
- Hide a whole category in one click (reversible), or hide individual bundled designs.
- Upload your own SVG art (Advanced & Pro), your uploads live in your own uploads folder and survive plugin updates; deleting one of your uploads is permanent, hiding bundled art never is.
- Your saved design templates are listed at the bottom of the same page.
My T Maker ▸ Fonts
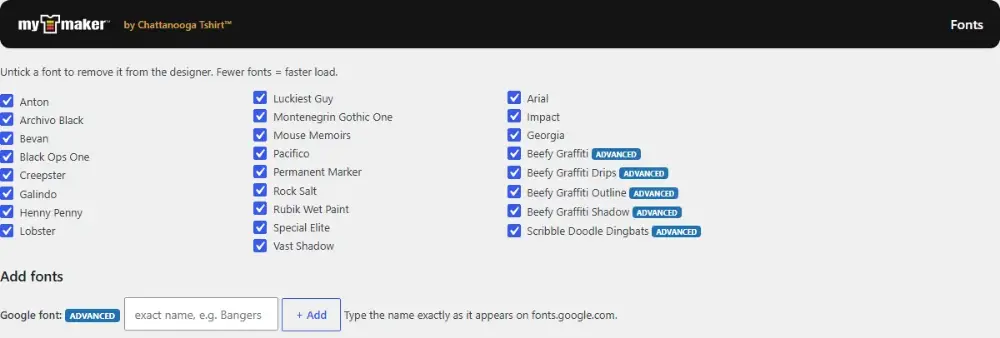
Which fonts customers get in the text tool. Every plan starts with the full 20-font launch set. Advanced can toggle fonts off, add any Google Font, and gets the exclusive BEEFY display set. Pro can also upload custom font files (OTF/TTF/WOFF2).
My T Maker ▸ Settings
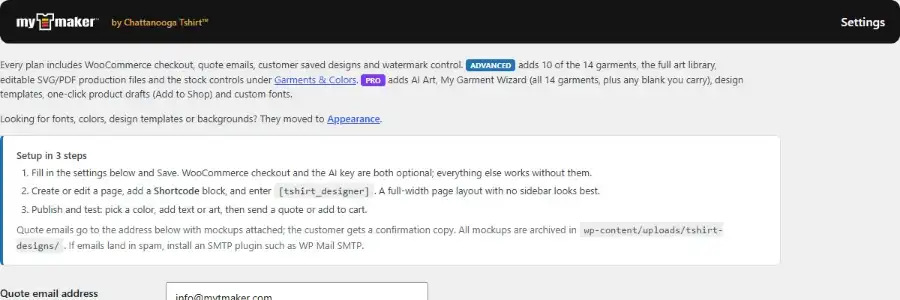
The business wiring. Top to bottom, by actual field label:
- Quote email address, where design requests land (the customer gets a confirmation copy). The one field every install must set.
- AI Art, provider, API key, model, and the free-generation allowance (Pro), see AI Art.
- WooCommerce checkout, enable the Add to Cart button, then map products: a fallback Front-only product and Front & back product, plus per-garment Front / Front & Back product dropdowns, see Checkout setup.
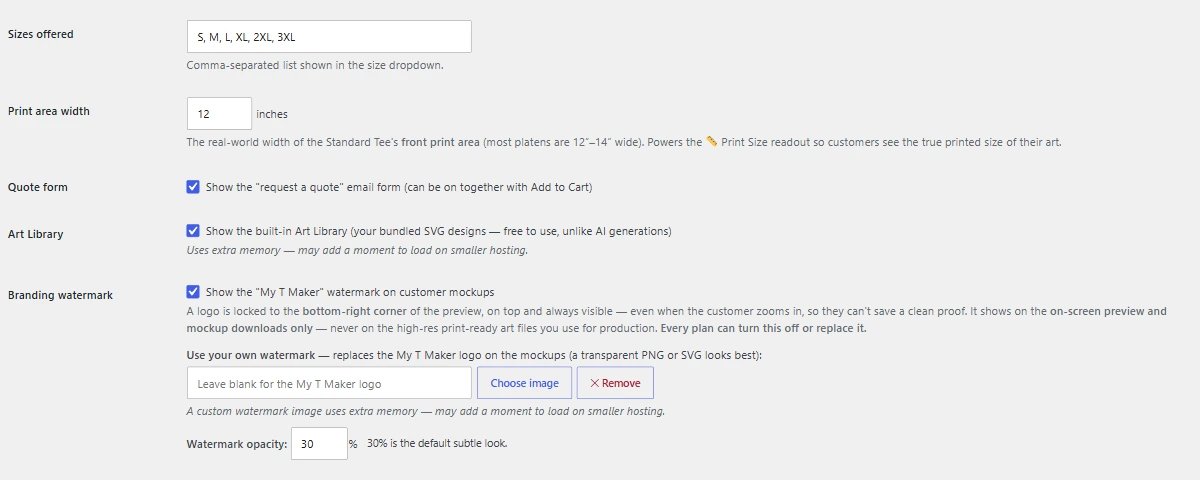
- Sizes offered, comma-separated list shown in the size dropdown on orders and quotes.
- Print area width, your platen’s real printed width in inches (default 12″); drives the 📏 print-size readout and DPI warnings.
- Quote form, show or hide the “request a quote” email form (it can run alongside checkout).
- Art Library, show or hide the built-in art library in the designer.
- Branding watermark, turn the mockup watermark off, replace it with your own, set its opacity. Every plan.
- Your header logo (Pro), your logo at the top of the designer instead of ours.
- Buy button text, what the main action button says.
- Update feed URL, where the plugin checks for updates; set once, leave alone.
Options that use extra memory (background image, custom watermark/logo, AI, art library) say so right on the page, every one can be switched off on smaller hosting.
My T Maker ▸ Appearance
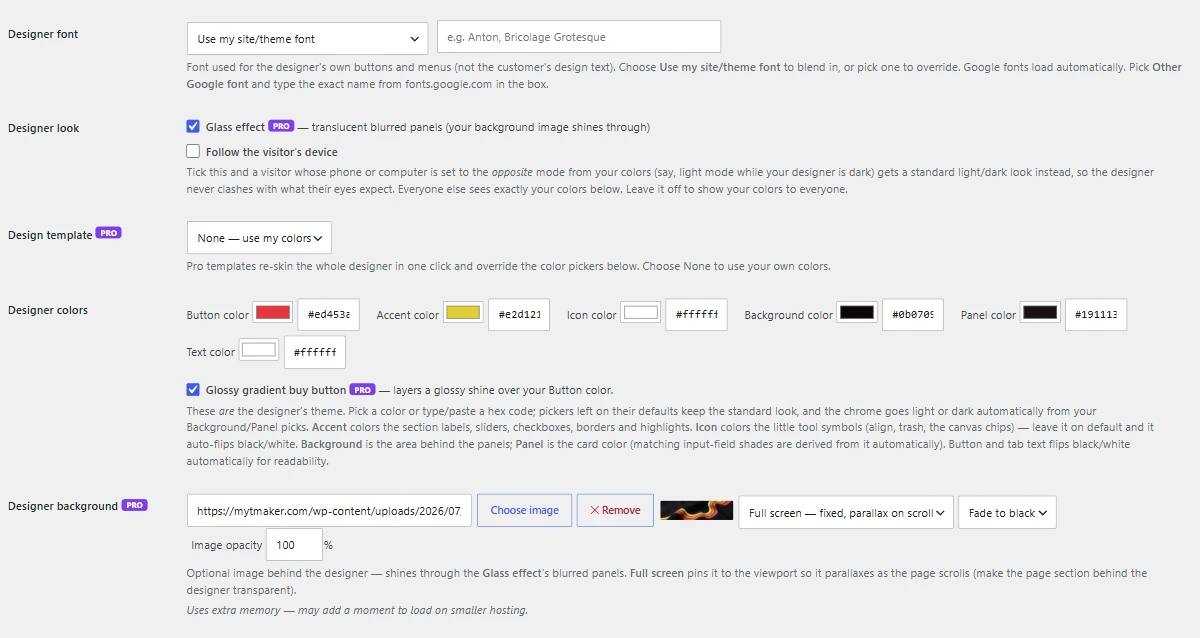
How the designer looks, covered in depth in Match your brand:
- Designer font · Designer look (light/dark/auto) · Design template presets (Dark/Light/Fire/Ice, Pro) · Designer colors (six pickers) · Designer background (solid / stripe patterns / your image).
Changes here are saved independently of Settings, the two pages don’t overwrite each other.
What’s NOT in the admin
Customer designs don’t need moderation queues, and the designer needs zero page-builder work, the shortcode is the whole integration. If you’re looking for a setting that isn’t on these pages, it doesn’t exist yet. Tell me and it might.
Need a hand?
Use the contact form, answered by a working print shop within 1–2 business days.